A step by step guide on how to build a sunken hugelkultur bed (more on types of hugels here).
What you will need:
- Cardboard (optional)
- A range of larger woody materials, at least a year old: logs, thick branches, etc., no more than 60cm (2 feet) long.
- A range of smaller woody materials: kindling sized sticks, bark, offcuts, etc.
coarse woody material: leaves and twigs, woodchip, hedge clippings, prunings, coir mulch, etc. - Fine material: grass clippings, other garden waste (weed free), sawdust
- blood and bone or other nitrogen rich fertiliser
- compost: mushroom compost, worm casting, cow manure, bokashi, etc.
- straw or sugar cane mulch (optional)
- bob cat, international travellers, other willing workers (optional)
Instructions:
- Choose a sunny spot in your yard or garden.
- Dig a 1.2 metre wide trench, 30 cm deep, keeping the turf as you dig. Orient the trench east-west. (Omit this step for a traditional hugel; dig a 90cm trench for a sunken hugel)
- If you have sandy, fast draining soil, put a layer of cardboard on the bottom of the trench, but not too far up the sides (2cm maximum). The cardboard will breakdown, but in the short term it will help to trap water while the larger logs have a chance to break down and create the “sponge”.
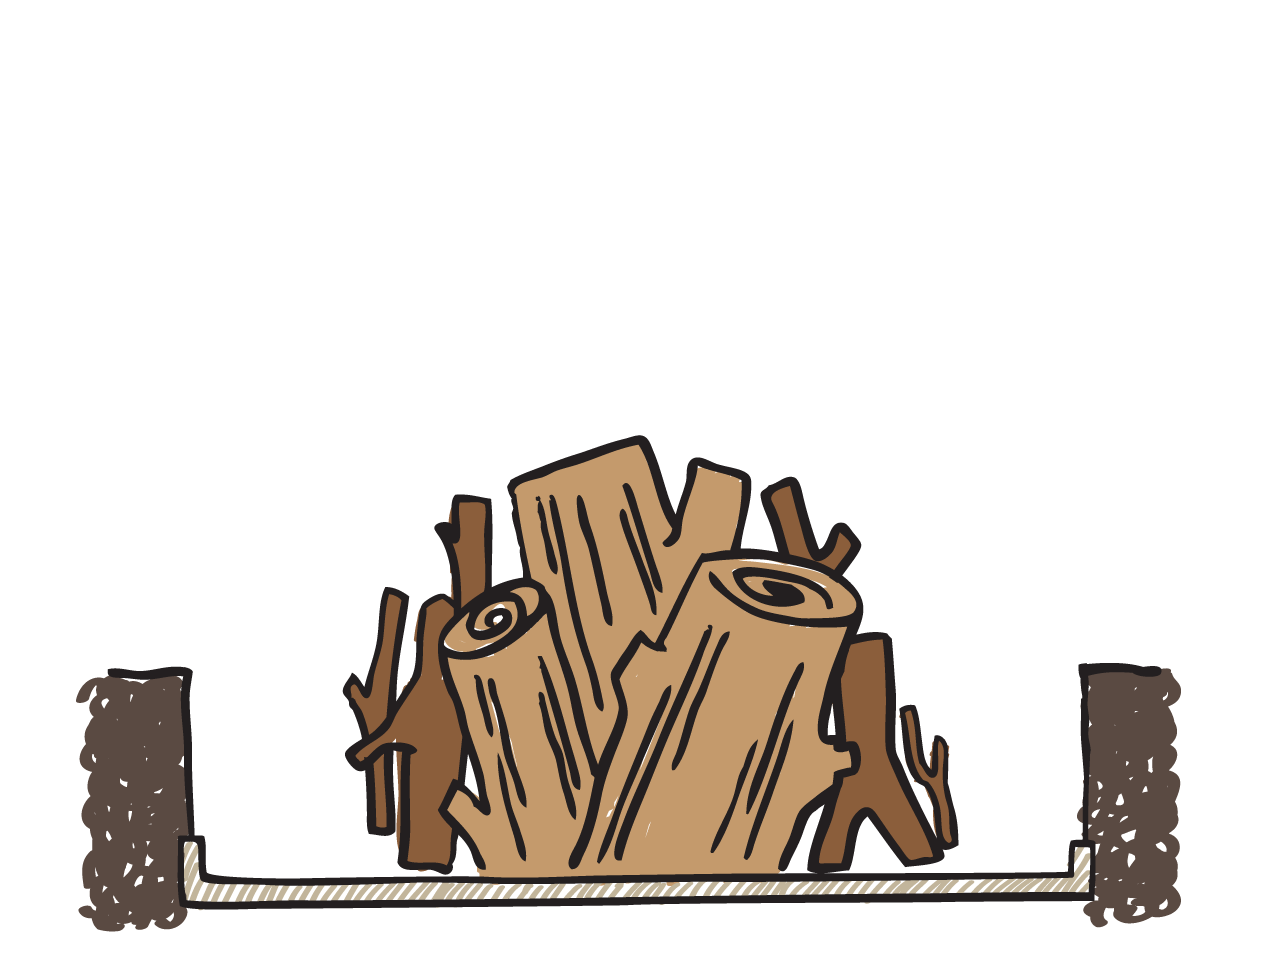
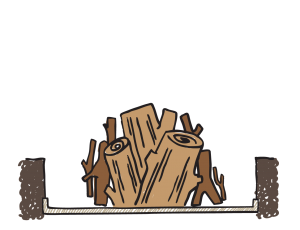
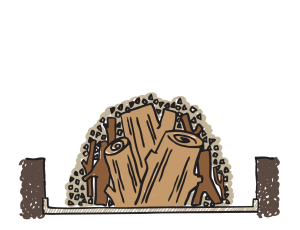
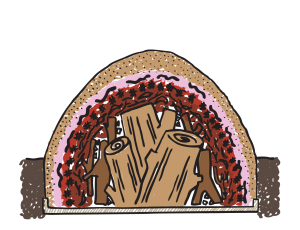
- Grade your woody material. Place the largest logs in the base of the trench, standing upright to wick moisture from the base of the hugel to where your plant roots will be. You should have a row of uprights most of the length of the trench if you can.
- Place the next smallest woody material between the logs. These can be upright or arranged along the bottom.
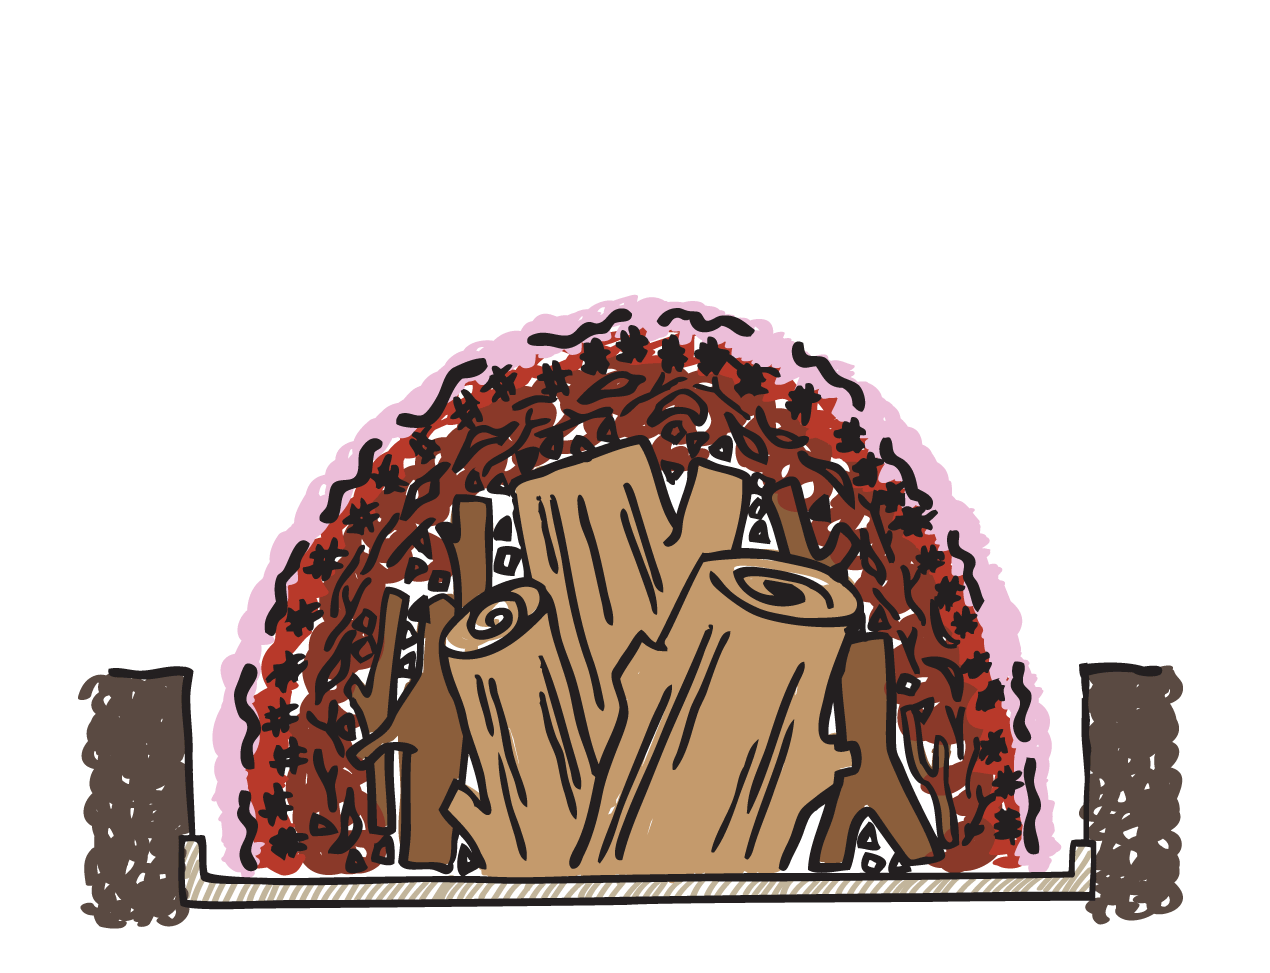
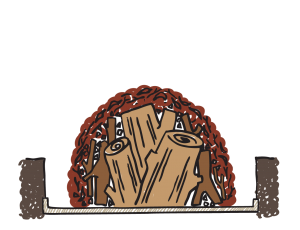
- Add well-rotted branches, hedge clippings, woodchips, and leaves and sticks. The more gaps in this layer, the more your hugel will sink over time. Gaps are inevitable, and encourage worms, mycelium and pockets for roots to develop, but too many large gaps will work against you, so try to jam the woody material as close together as you can.
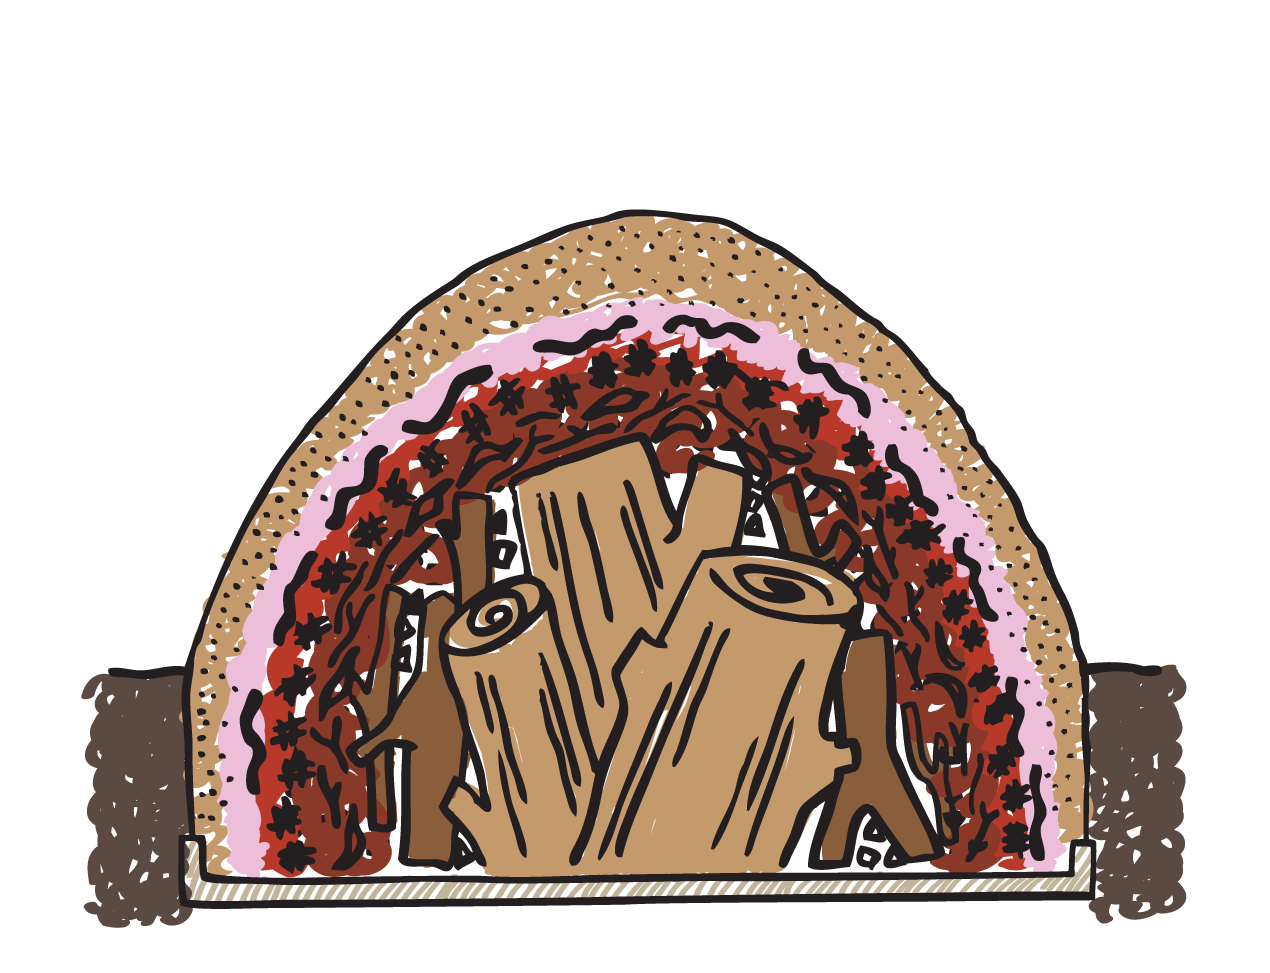
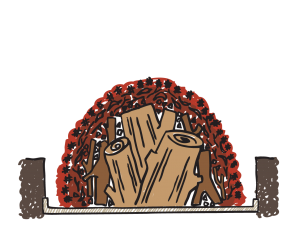
- Cover with a layer of low quality soil. Water in hard (use a jet setting on your hose), and really push the dirt in to fill as many of the gaps between the wood as you can. Try not to flood areas, and keep moving across your hugel then come back and keep working at an area. By the time you’re finished, you should be able to see most of the leaves and sticks. When you’re done, add another layer of soil so you can’t see any of the sticks or branches.
- If you have turf, add it now, turned upside down with the roots facing up so the grass won’t keep growing. Your mound should be half its final height. (Don’t do this if you have invasive grass such as kikuyu).
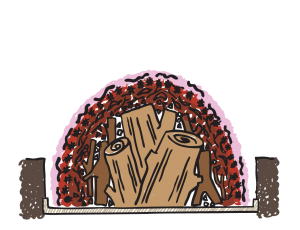
- Now layer in coarse leaves and sticks (eucalyptus leaf litter is perfect), then cover with more soil and water in hard again. Repeat until you have a mound that is 60cm (2 feet) high.
- Add a layer of blood and bone. This will ensure that any green waste will not rob your plants of nitrogen, and will improve your composting process.
- If you have worm castings or Bokashi compost, add it now.
- Cover with garden waste, smaller leaves and grass clippings.
- Next add your growing medium over the mound to a depth of 20cm.
- Cover the mound with straw if you’re expecting a heavy rain. This will prevent hugel erosion before your veggie roots stablise the mound.
- You can plant straight away. Water the plants in well for the first week, then irregularly for the following week. Once the plants are established, you need only water as necessary (depending on rainfall, this can be as little as once a month!)